Getting Started with GitHub and Visual Studio 2017
Introduction
Prerequisites
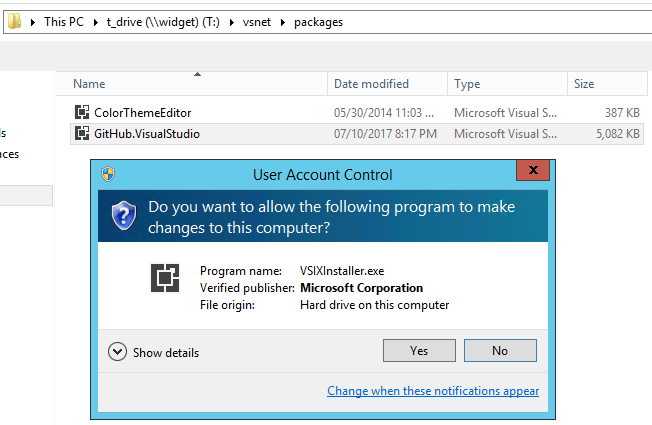
Want to get started using git with Visual Studio but you're not sure what to do, how to get started, or you are confused by the command line? Good news, everyone! You can do nearly everything you want right from within Visual Studio 2017. All you need is the GitHub extension for Visual Studio, and a GitHub account. For my demonstration I am using a Pro account so I have the option for private repositories but this will work for free accounts as well.
I wrote this because I couldn't find a step by step instruction how-to that didn't assume you were using Microsoft Team Services or using the git command line.
In my usual style, this is terse and to the point, and a little rough around the edges. I hope you find this useful. Enjoy!
Install Visual Studio 2017
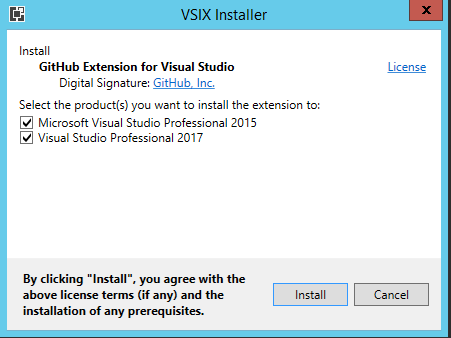
Install GitHub extension for Visual Studio
How To #1: Push an existing project into GitHub
(and connect to GitHub for the first time)
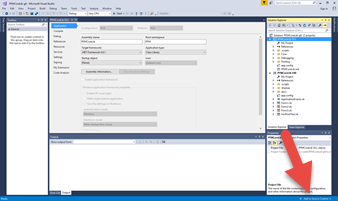
Open existing local solution in Visual Studio
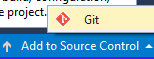
Click "Add to Source Control"→“Git” located in the lower right corner of Visual Studio IDE
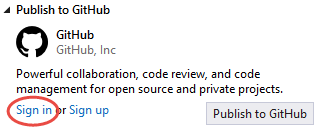
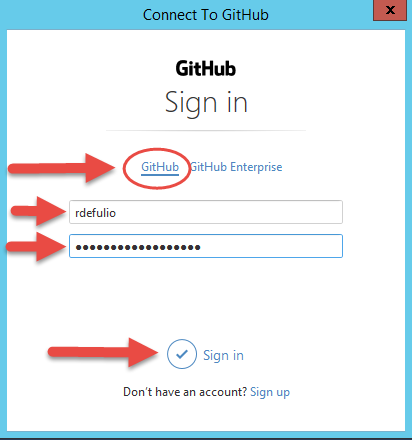
If you haven’t signed into GitHub yet on this computer, click the Sign in button below
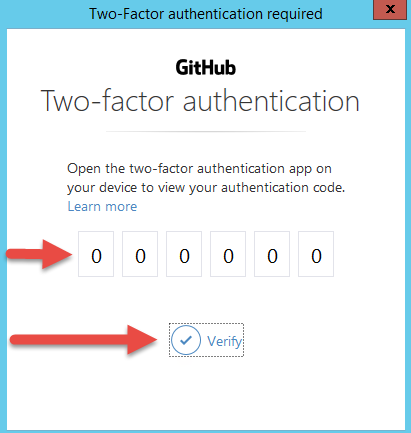
Enter your two-factor verification, if necessary
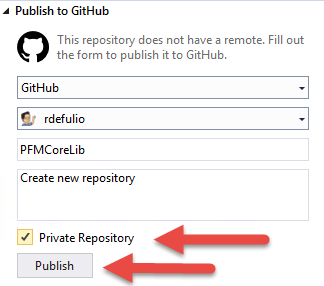
Fill in the form to Publish to Github, and click Publish
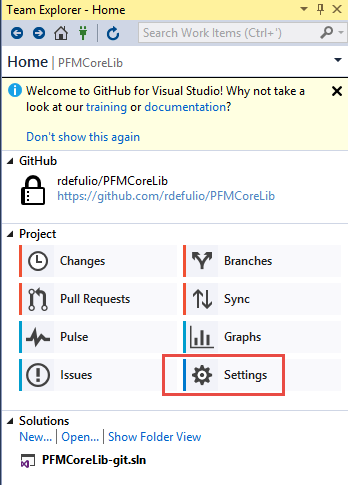
Adjust the Settings so non-essential files are not uploaded to git. Click Settings.
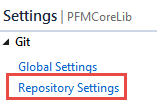
Click Repository Settings
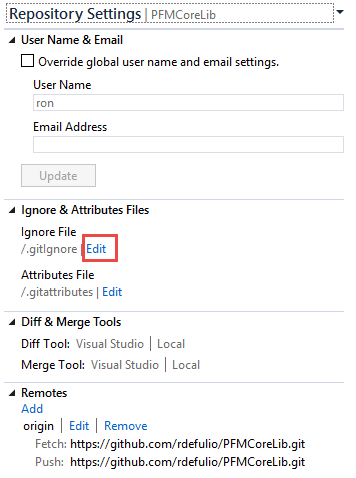
Click Edit next to .gitIgnore
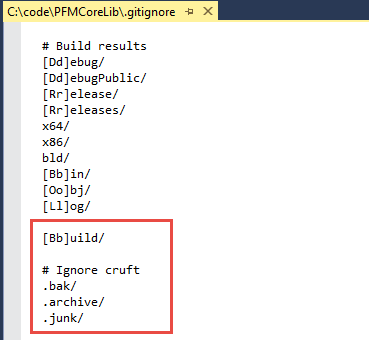
Add the text indicated below
Click Save, then click the Home icon, then click Changes
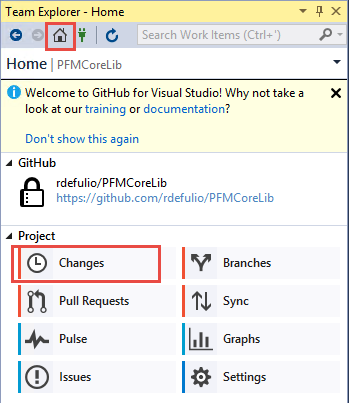
Here, you see the change you made to .gitignore.

You have 3 choices for committing your changes --
- Commit All to your “local” repository (the copy on your local computer only)
- Commit All and Push to github (writes the changes locally and to github)
- Commit All and Sync to github, which downloads any changes that were committed to Git by others and merges those changes with your code automatically (if possible). If there are conflicts you will be given the chance to manually merge the changes.
In this case, Commit All and Push is what we want.
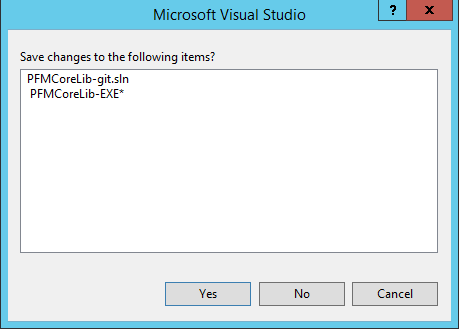
First, we are reminded to save our project ...
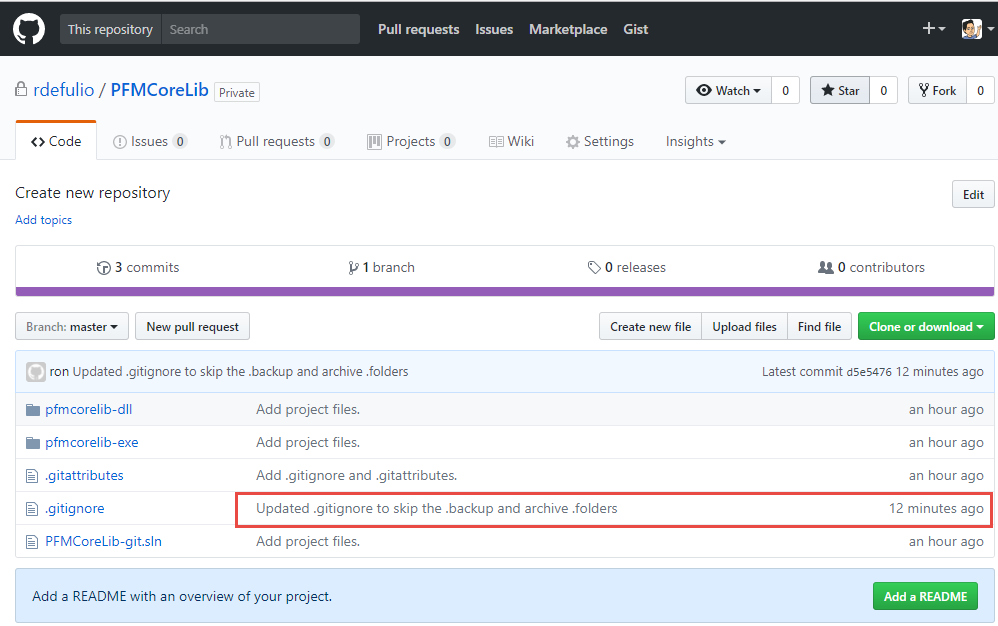
If we browse to the git repository, we see our committed change.
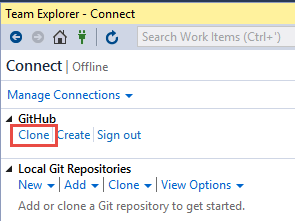
How To #2: Open a github project
Launch Visual Studio
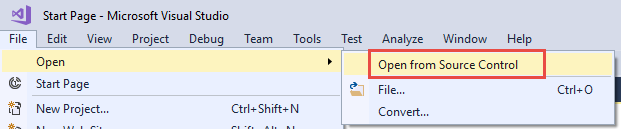
Click File→Open→Open from Source Control
Click Clone
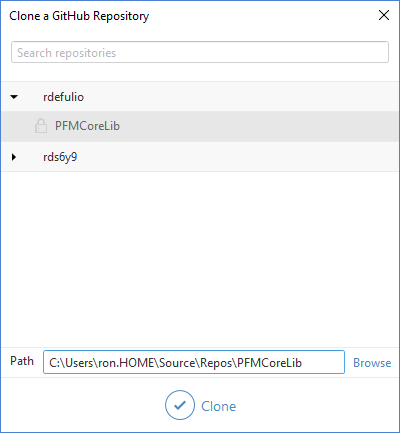
Select repository, local path, and click Clone
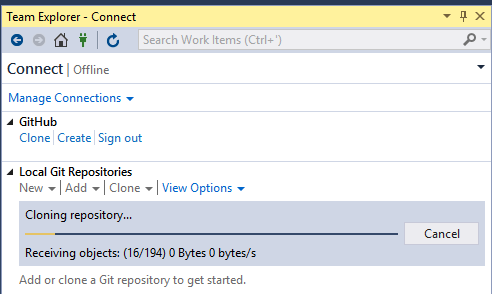
Wait for clone operation to finish
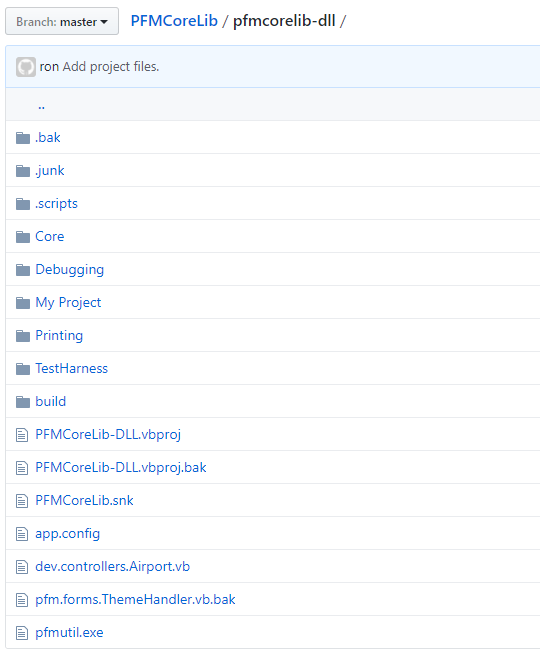
Side by side comparison of local and remote
Local File View (in Visual Studio)
|
Remote Repository View (in GitHub)
|
 |  |
 |  |
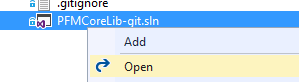
Right Click Solution file and select “Open”
Solution View
 |
File-System View
|
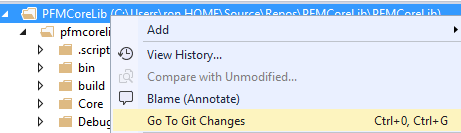
Lets make some more changes.
Delete the .bak and .junk folders from the file system (right-side-pane view).
Now lets review what is going to be committed
Annotate and commit
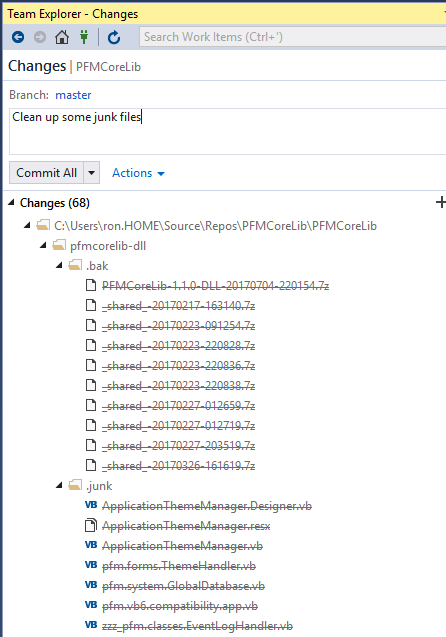
Click Commit All
Then lets Sync and Push the changes to the Server.
Click Sync

Then click Push

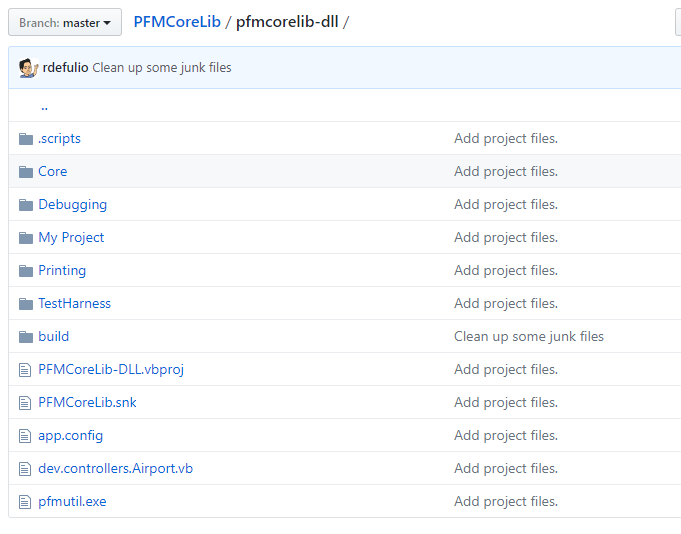
And now the junk is gone.

This is actually good to read content of this blog. A is very general and huge knowledgeable platform has been known by this blog. I in reality appreciate this blog to have such kind of educational knowledge.
ReplyDeleteUsing Git With Visual Studio